Masks can be a great tool to create a different cut-out for photos or papers or to create a frame around elements we want to focus on. Masks come in a variety of shapes and are available just about everywhere. Let’s see how you can use those resources in your PaintShop Pro.
What are masks?
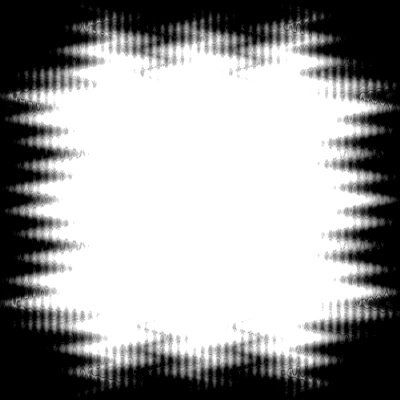
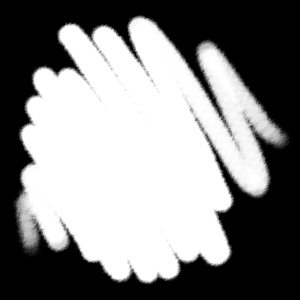
Masks are typically black and white (and grey) images. They will work like adding some masking tape to “protect” a section of the wall you want to paint. In PaintShop Pro, whatever is black will block the image from below, so you can remember that “black will block”.
White areas will let the image below show through, and grey will let some level of transparency show through.
Here are some samples of masks.
.pspmask or .jpg?
If you create a mask and export it inside PaintShop Pro, then it be a .pspmask file. They can also be a simple .jpg image and it will work exactly the same way on your image; the only difference is how you will access the actual mask.
Using a .pspmask file
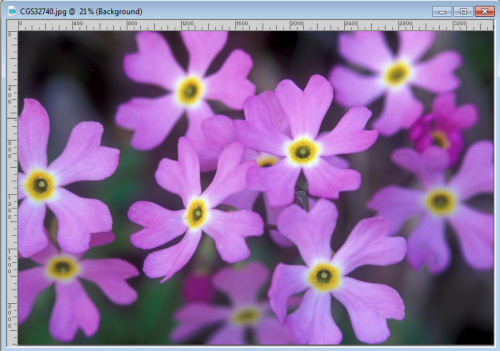
Open the image you want to add the mask to.
Click on Layers > Load/Save Mask > Load Mask from Disk.
This will bring up this dialogue window where you get to choose which mask you want to use, and a variety of settings to pick.
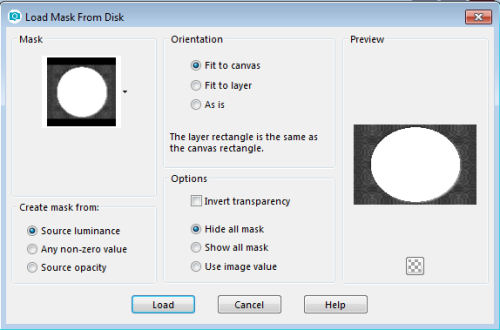
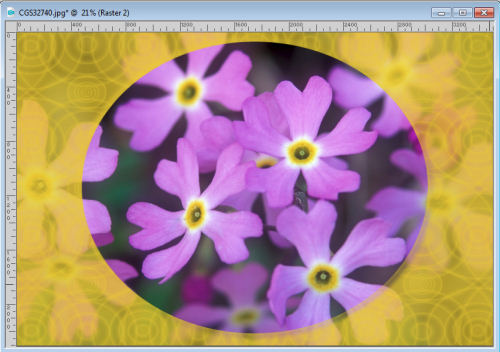
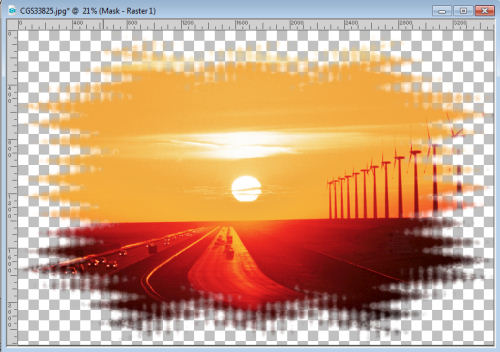
These are also the default settings that will come with this feature. Just click Load and your image will turn into this:
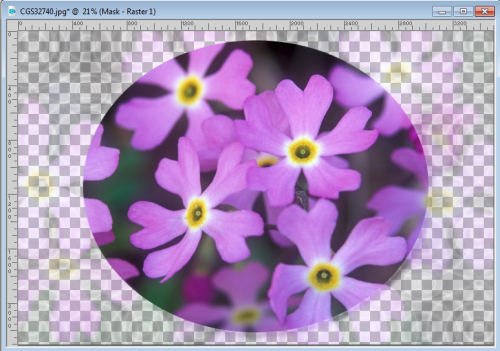
As you can see, the area that was white shows the image through, unaltered while the dark grey area only lets a little bit of transparency through.
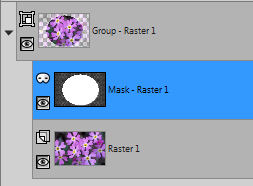
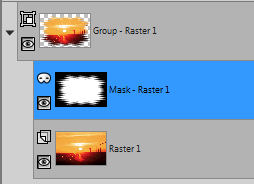
In the layer palette, the mask layer is grouped with the image and sits on top of it. Since those two layers are grouped together, the mask will ONLY be applied to that image in the group and not any other layer that might be below.
This allows you to add a background of your choice like in this sample.
Once you are done, you can leave the group of layers as is, or you can right-click on the top layer and merge the group. Of course, leaving the group intact allows you the flexibility to make any change in the future, but it also makes for additional layers that you might not need. But either way is possible.
Using a .jpg file
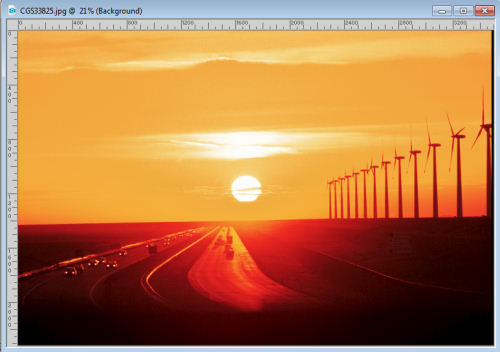
Although you can use a .pspmask file and load it from the disk, you can also use ANY black and white image as a mask. The process is slightly different but still very simple. Let’s use this starting image.
And this is the mask we will use.
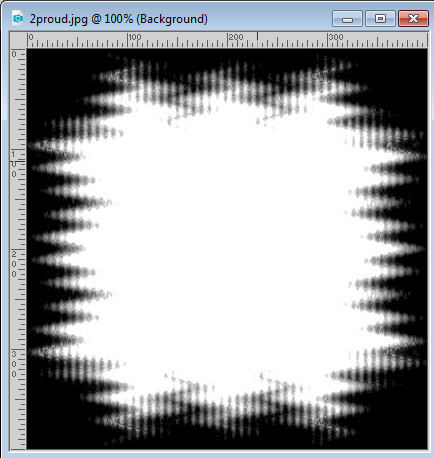
Notice that the mask is square but the image is rectangular. When applying the mask, it will take on the shape AND size of the image. If the design of the mask will be distorted by changing the format, choose a different mask or a different picture.
In order to apply the .jpg mask, you need to open it on your workspace. You can minimize it if you want, but you have to have it open so that PaintShop Pro can “see” it.
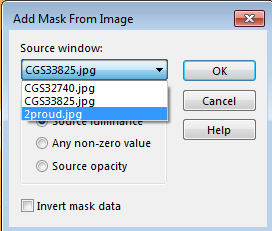
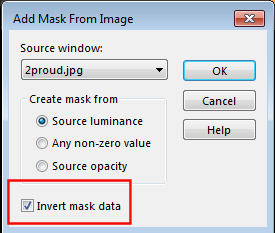
Then, you click on Layers > New Mask Layer > From Image. This will give you this dialogue window.
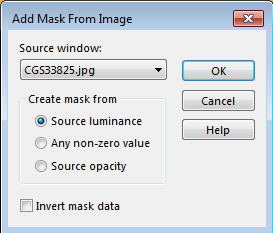
By default, the file that will show as a Source window will be the active image. Pull down the list to see all the open images. That is why you needed to open that mask file in the first place. Highlight the one you want to use as a mask.
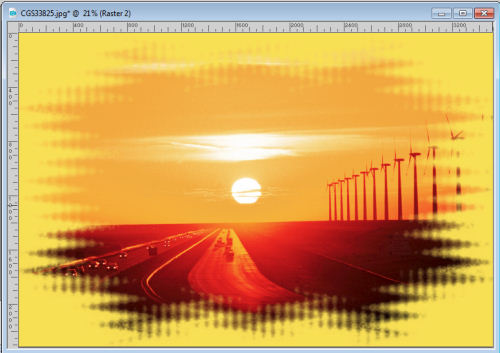
Click OK and that particular image will be applied as a mask to your image in the same manner as the .pspmask file. In the layer palette, you will see the exact same sequence of layers.
And the end result will be this:
And then, you can also add a background layer to your liking.
Inverted masks
It is possible that you will get some masks that are inverted, meaning that the area you would want to keep is black instead of white. You can still use those. You have two options to use those: either you make a negative copy of it and save it again, or you can choose the option of inverting the mask data in the dialogue window you are getting when you want to add that mask layer.
Where to find masks?
There are lots of places to find masks for PaintShop Pro. In fact, since you don’t need to have .pspmask file format, you can get any mask you want that is in .jpg format (if you have a png format with transparency, you might want to read the post about Using transparent masks in PaintShop Pro). This means that many masks that are typically used for Photoshop can also be used in PaintShop Pro.
You can also create your own masks using some particular scripts, like these (click on the image to get to the store):
Or, if you want a more in-depth class about Masks, check out our Masking in PSP Master Class. You can also join our DIAMOND membership and access this class and hundreds of other tutorials.