When working with text in PaintShop Pro, you are likely to need to go back to it, to edit the spelling, to add more text, to change some attributes, etc. But how do you get that cursor to appear or the text to get highlighted? Let’s have a look at a few tips that could help you.
Before accepting the text
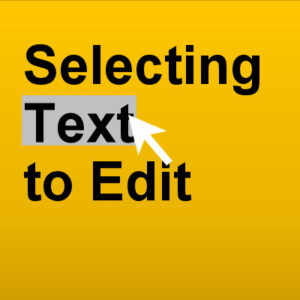
Once you have added some text, you would likely need to accept the changes. If you have not done so, the text is already available and with your cursor, you can simply highlight the character or the word (or more words) you want to edit. The selected text will then appear with a grey background. You can then either retype something else or apply various attributes, like bold, italic, or even change the color. That is obviously the simplest way to do it, however, it is more likely that you will want to edit your text afterward.
Click on the text
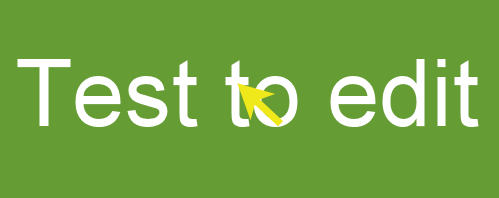
In order to select the text after you have completed a few more steps, activate the Text tool, and click on the text itself. The important part is to click on the TEXT and make sure you don’t click on empty pixels between the characters. If your text is small, try to aim for a thicker area, like the middle of an X, or on an uppercase since they might be a bit larger. Otherwise, you can zoom in a bit. If you miss, try again.
Click on the Text object
In the Layers palette, the text is always its own object, inside the Vector layer. Click on the little triangle to the left of the Vector layer to open the list of objects (you might have more than one). With the Text tool active, double-click on that object, and you should see the cursor appear.
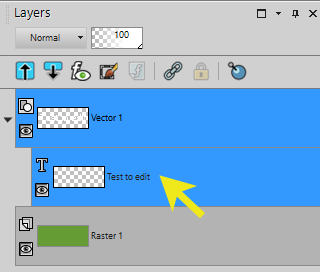
In most versions of PaintShop Pro, you can double-click on the Text object even if the Text tool is not active. However, occasionally, this has caused some issues in very specific situations, so be safe and activate the Text tool first.
The Text entry box
If your text happens to be displayed outside of the image (maybe it is just too long or too large), it would be hard to select the text to edit, even if you manage to activate the text itself. In that case, you can use the old trick of the Text entry box (which was the way to type in text in older versions of PSP). Hold the Shift key when you double-click on the Text object in the Layers palette. You will then see your text appear in a box like this:
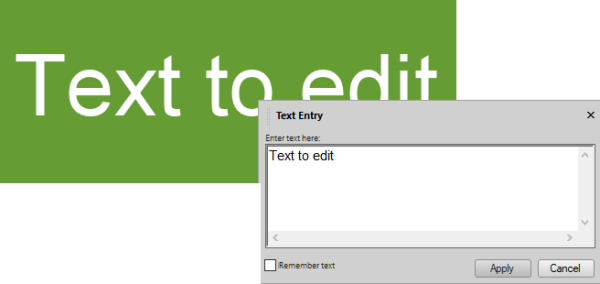
Editing in that box will apply the changes to the text on your project. That is a good way to select everything and change the size or add a line break if the text is too long for your image.
Of course, in order to edit the text, you still have to have a Text object and it should not have been converted to a Raster layer, or a character shape. If that is the case, you can no longer edit the text itself. That is why, if you need to convert your text to a Raster layer in order to add various effects to it (like bevels and shadows), you should also keep a copy of the Vector object, even if you keep it hidden. It could become handy in the future if you find a typo or an error.